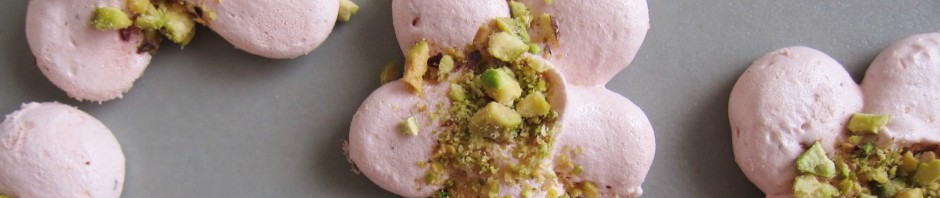

Over time, I’ve found that lavender and chocolate can form a mouthwatering marriage, where the decadence of each is somehow mellowed and complemented at once. The depth of chocolate is met with unexpected earthy tones, often with crisp bits of fragrant flowers alongside smooth, melty richness. So it felt right to turn to chocolate when I created a new treat using a beautiful lavender-speckled herbal tea not long ago: tiny, chocolate-dipped cakes filled with tea-infused raspberry jam. (More about that tea project here.)
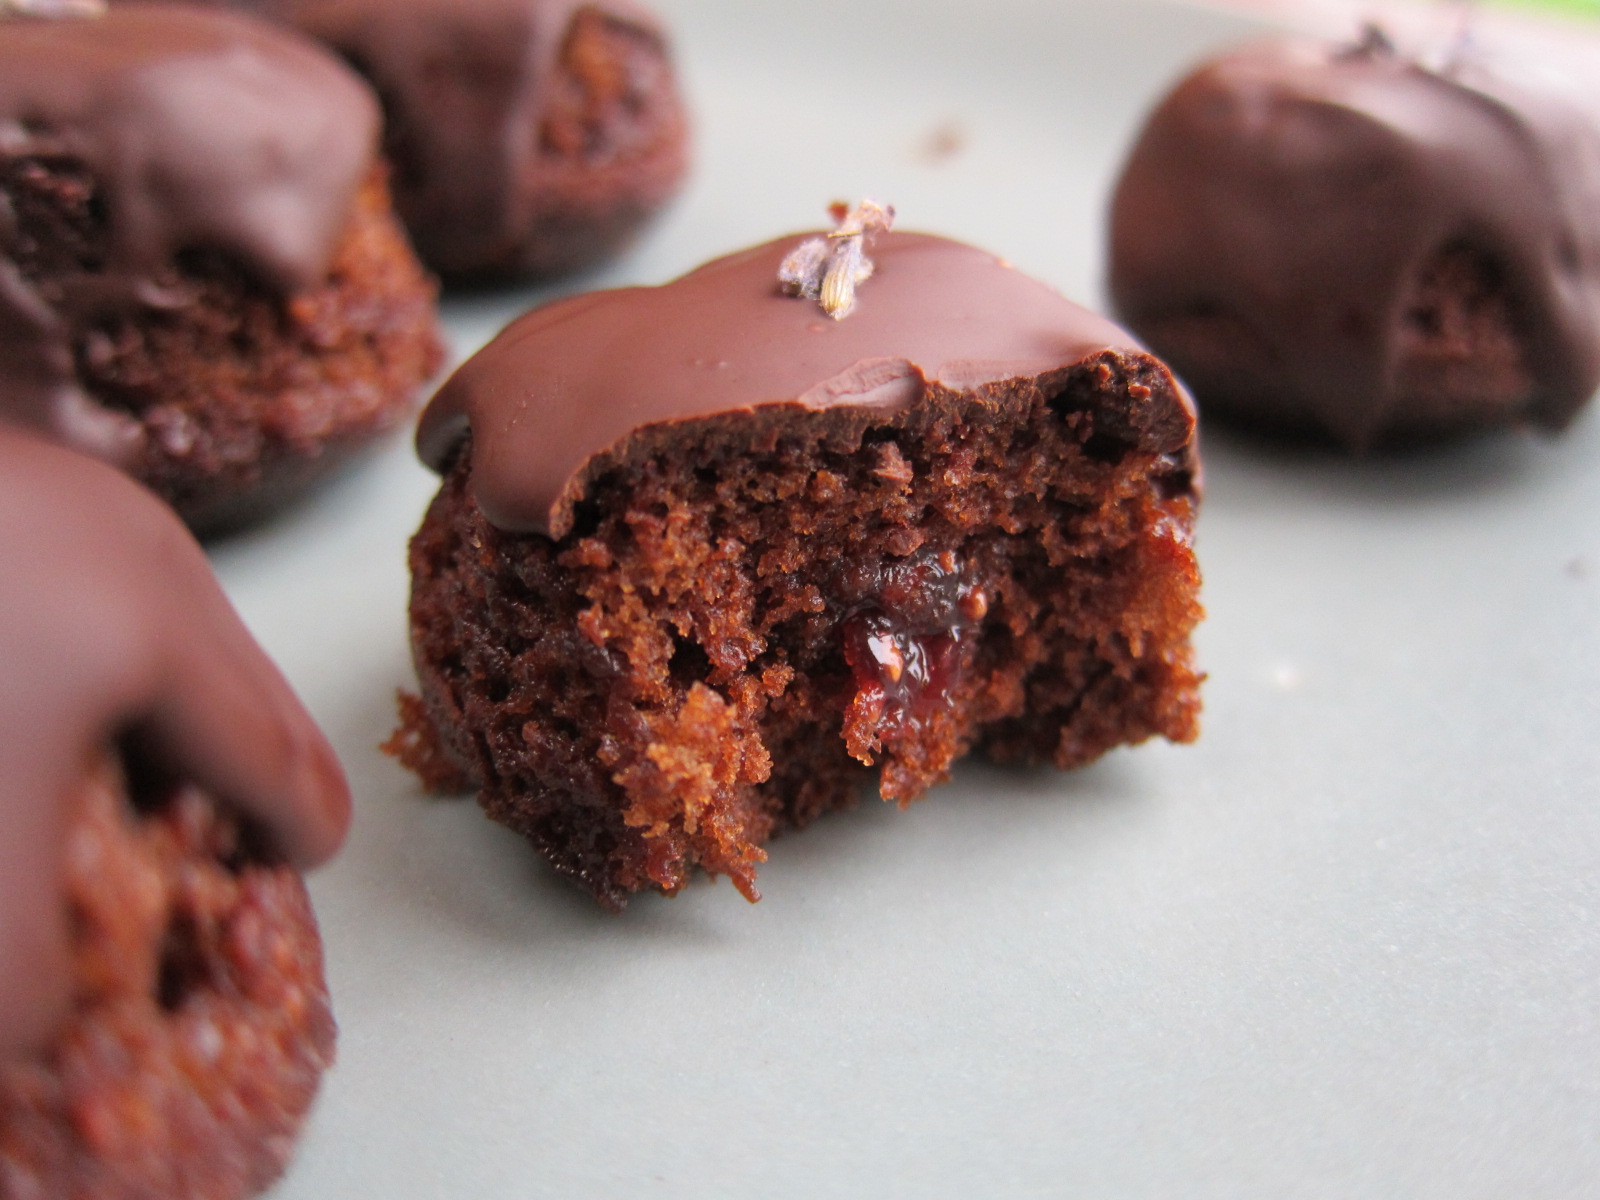
 I’d since daydreamed of making these sweets again — and with a few upgrades. For instance, instead of a fruit filling that soaked into the cakey centers, I envisioned a tiny tunnel holding a distinct pocket of preserves in each bite. And while I loved the sleek shape of my original upside-down version, the cakes’ naturally domed tops made them a bit tricky to balance bottom-up and invited a smooth, rounded topping.

Finally, while the intricate tea — comprised of not only lavender but also lemongrass, hyssop, and more — was my original inspiration for the dessert, I wanted to experiment with an all-lavender option (especially since not everyone has the tea readily available, though it’s rather easy to order). A bit more pronounced in floral flavor, the new rendition proved just as tasty as the first. With either version, the little cakes pack a scrumptious balance of tangy fruit, delicate herbal lavender, and luscious dark chocolate that can’t help but satisfy an array of sweet-toothed palates.

Chocolate tea cakes with raspberry and lavender
(Makes 36-40 mini muffin sized cakes)
For the filling:
- 2/3 cup raspberry preserves
- 1 tablespoon plus 1 teaspoon culinary lavender flowers or Wild Gift tea
For the pan preparation:
- butter, oil, or oil spray
- 2 tablespoons granulated sugar
- 2 tablespoons cocoa powder
For the cake batter:
- 1 cup granulated sugar
- 1 egg
- 1 egg yolk
- ½ cup vegetable oil
- 1 teaspoon pure vanilla extract
- 1 cup all purpose flour
- 6 tablespoons cocoa powder (not Dutch process)
- ½ teaspoon baking soda
- ½ teaspoon salt
- 2/3 cup boiling water
For the topping:
- 10 ounces dark chocolate, in pieces or chips
- 2 tablespoons coconut oil, melted
- lavender flowers for sprinkling
Up to two days in advance, pulse the tea or lavender in a spice grinder (a.k.a. blade-style coffee grinder) or crush with a mortar and pestle. Process into a grain fine enough that it won’t get stuck in a piping tip. Whisk into raspberry preserves until evenly dispersed. Cover and refrigerate.

*Prepare mini muffin pans by fully greasing each indentation. Sift the tablespoons of sugar and cocoa into a small bowl and whisk together. Distribute about a scant half teaspoon of the mixture into each muffin cup. Rotate pan to disperse powder across the bottoms and sides of the cups. Invert and tap the pans to shake off excess powder. Set pans aside.

Preheat oven to 350 F. Heat a kettle containing at least 2/3 cup water. While the water heats, place the sugar, egg, egg yolk, oil and vanilla in a large, heatproof mixing bowl. Beat with an electric mixer until smooth. Sift the flour, cocoa powder, baking soda and salt over the egg mixture. Begin to stir in the dry ingredients (mixture will be thick); no need to mix thoroughly at this point.

Once the water is boiling, carefully add 1/3 cup of the water to the batter. Stir well, then add remaining 1/3 cup water. Beat until consistency of batter is smooth and even, scraping bowl with a spatula along with way. Fill the cups of the prepared pans 2/3 to 3/4 full using about a tablespoon of batter per cup. Bake for about 9-10 minutes, just until centers test clean with a toothpick. Remove from oven; let cakes cool to room temperature in pans.

Once completely cool, loosen cakes from pans by running a toothpick or small butter knife around their edges. One at a time, pick up each cake and insert a straw or a Bismarck piping tip into its side, about halfway between the top and bottom of the cake (better closer to the top than the bottom).

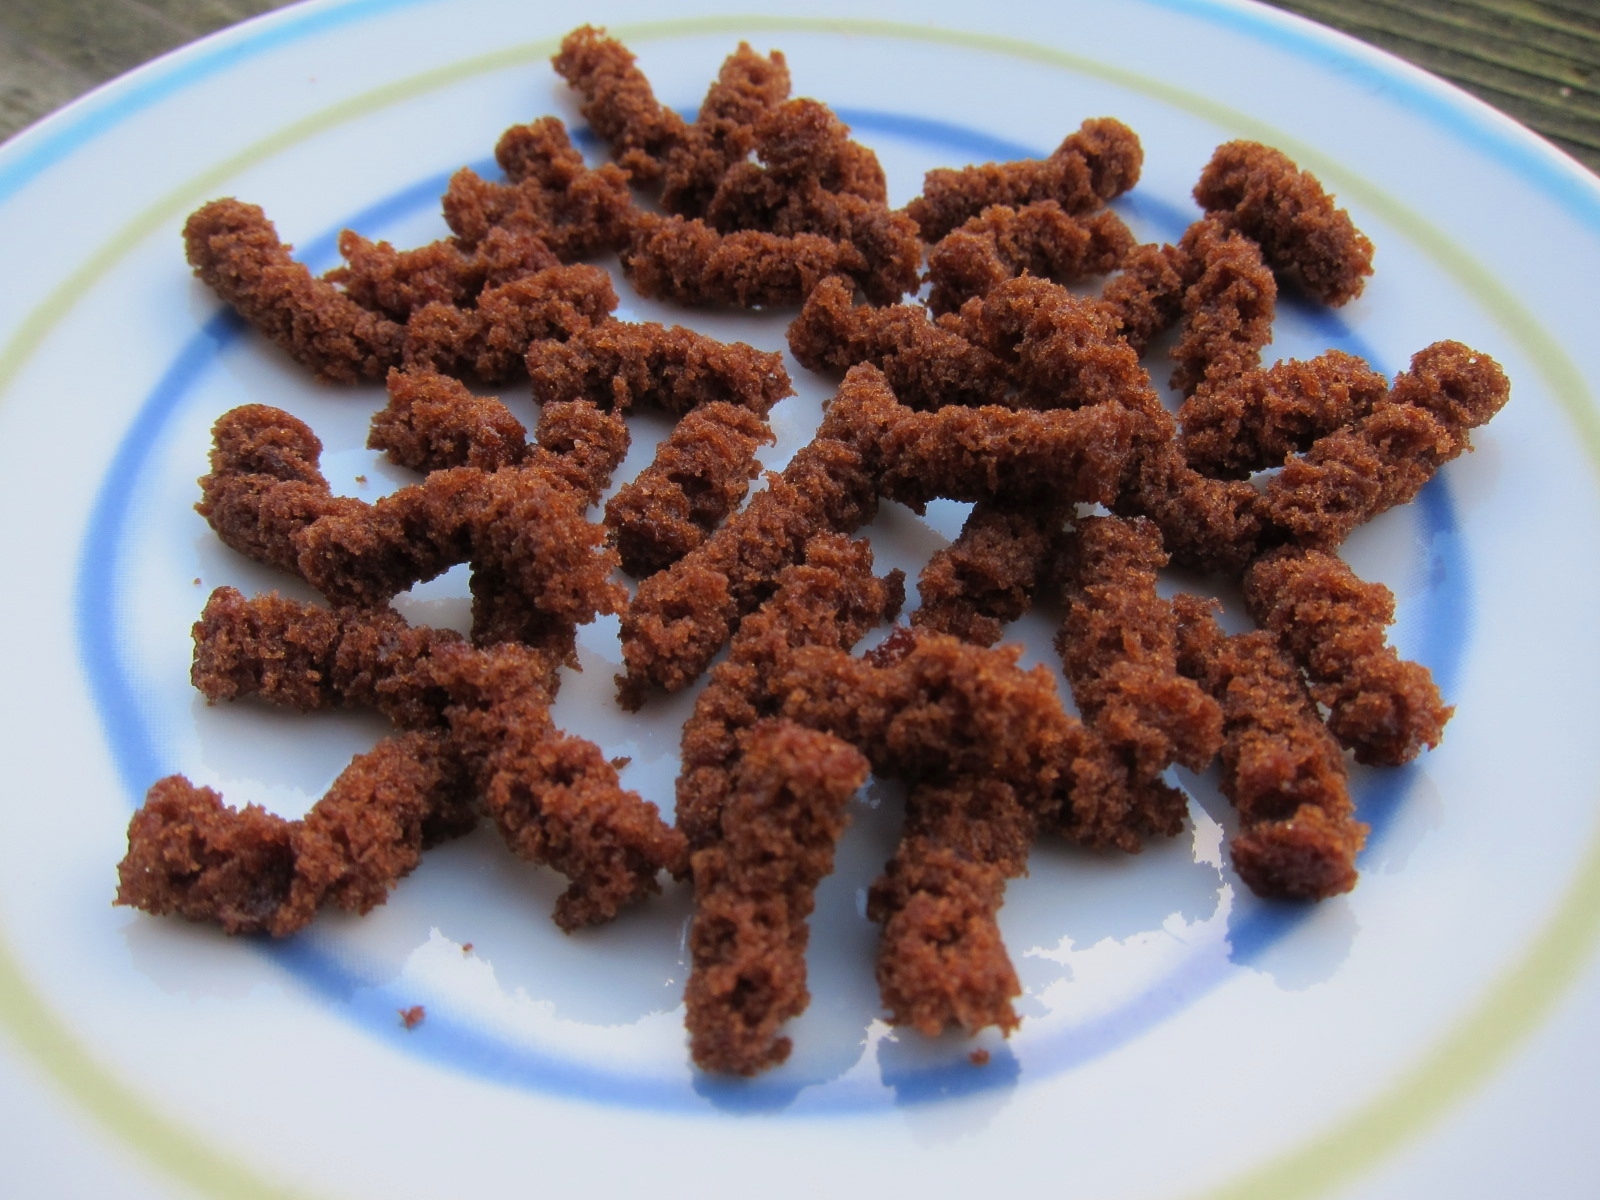
Gently twist the straw as you push it at least 3/4 way into the cake horizontally, almost to the other side but not all the way through. Slowly withdraw the straw, then remove the strip of cake inside it by tapping it onto a plate or softly blowing into other end of straw. Discard cake scraps (or eat!). Repeat until all cakes have been burrowed.

Place the lavender/tea infused jam in a piping bag with a plain open tip that will fit inside the tunnels in the cupcakes. With each cupcake, insert piping tip and gently squeeze while slowly withdrawing the piping bag. Fill the little tunnels completely but without causing bursting or overflowing.

Set up cooling racks nearby, placed over cookie sheets and/or wax paper. Place the chocolate pieces in a glass or metal bowl, and set bowl over a pan of simmering water. The bottom of the bowl should be near the water but not touching it. Stir chocolate as it melts, watching as the solid pieces disappear. When chocolate is almost completely smooth, add the coconut oil. Whisk until just incorporated and smooth. Remove from heat.

Working quickly, dip cakes one at a time in the melted chocolate. Hold cake by the sides using two fingers. Begin by dipping just the side of the cake with the exposed jam-filled hole into the chocolate, then turn cake upside down into the chocolate, dipping only the top of the cake. Your cakes should end up with chocolate coating on the top and on one side which seals the tunnel of jam. Set on cooling racks to let any excess chocolate drip off.

While chocolate is still wet, sprinkle each cake with a few pieces of lavender. Then set cakes in a cool place to let chocolate dry and firm up. For optimal texture, eat the cooled teacakes on the day of baking — but they can be stored in a sealed container or under a glass dome for up to two days at room temperature.

*Maybe next time… I chose to insert my filling from the side in order to fight gravity, spread the jam across two bites, and keep the tops nice and smooth — but it’s more common to fill cupcakes from the bottom or top, and the latter will allow you to use cupcake liners if you don’t want to deal with greasing, dusting, and washing the pans. To keep these treats dairy free, choose oil instead of butter for greasing the pans, and use chocolate that does not contain milk products.


These look and sound absolutely lovely and very delicious!
Thank you so much, Erica!