
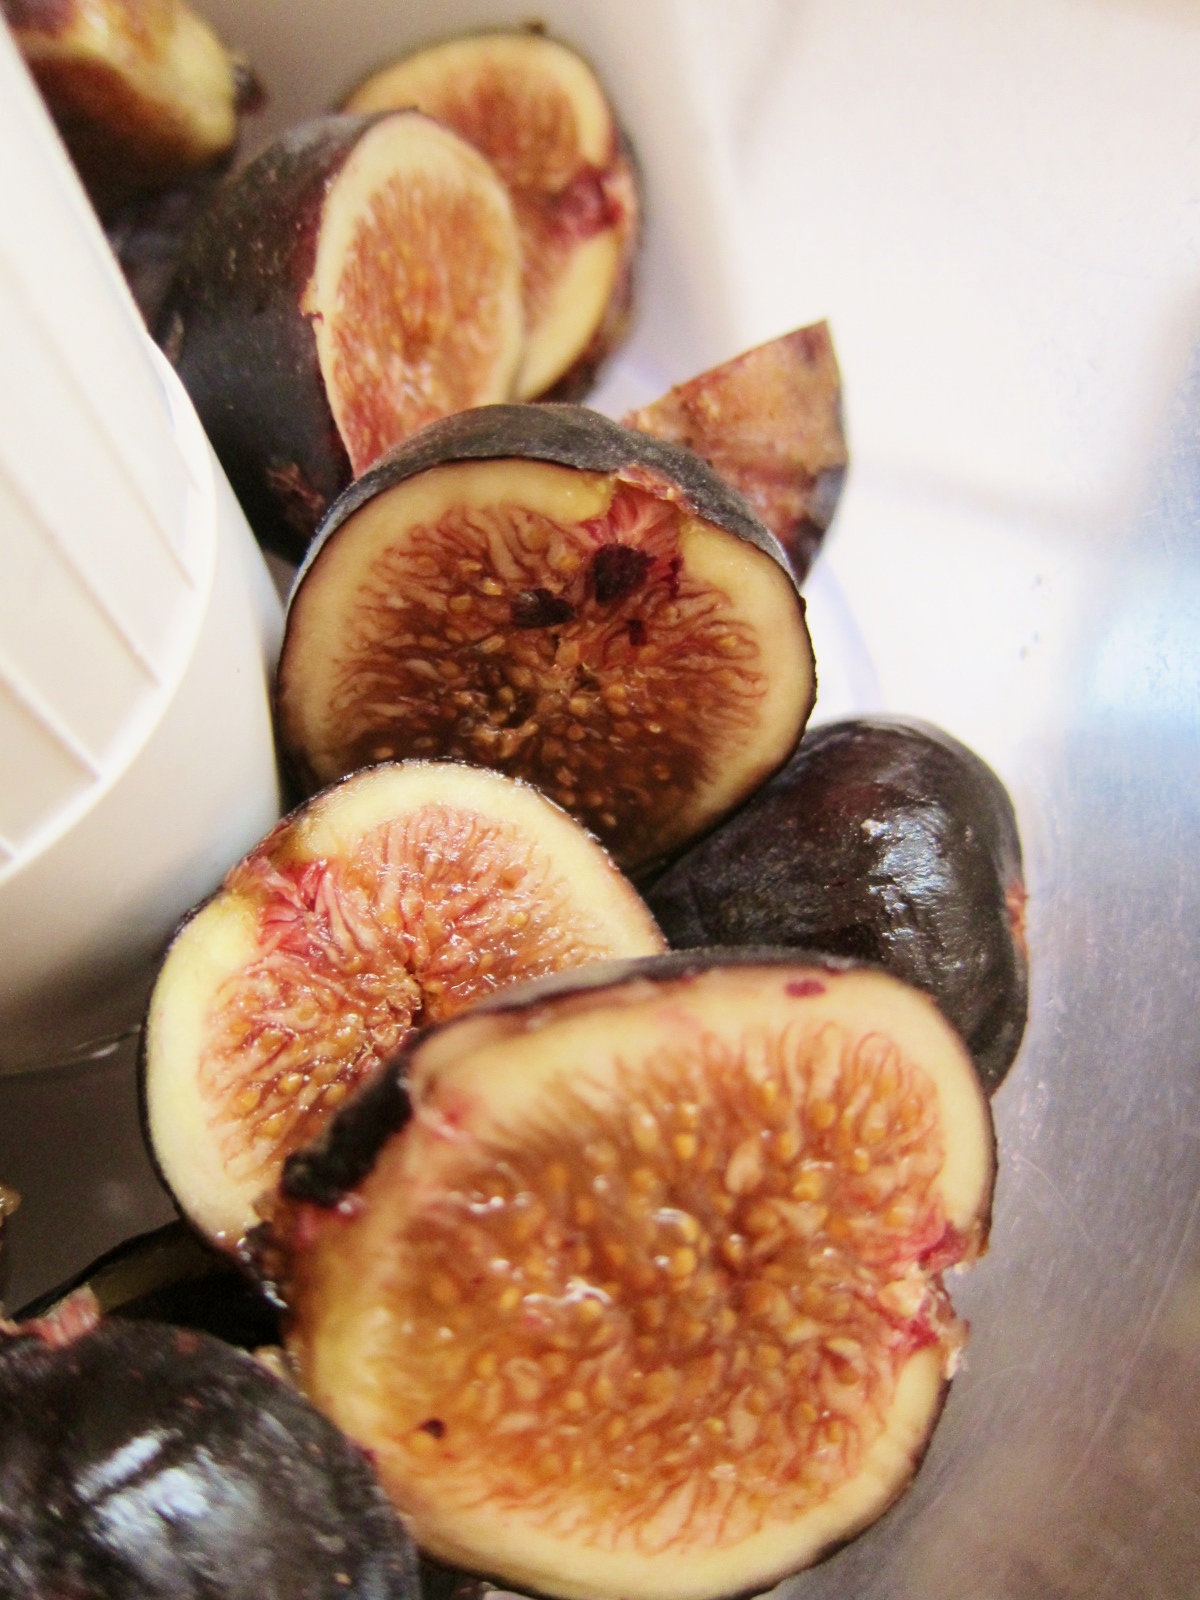
I have a friend who is so enamored with fresh figs, I’d even call it an obsession. When we walked past a woman carrying a basket of figs recently, my friend talked about it for a week. “I wonder where she got those figs. Is there somewhere around here that sells figs? I want figs!” Sure, she can get figs from the right market or from her CSA box — and when she does, she bounces off the walls with excitement. But naturally, the figs disappear fast, and her demeanor quickly sinks: she sulks, “Meh. All out of figs again…”
 Her birthday was coming up on quite a timely date — right in the height of fig season — and I had the honor of making her cake. As I thought about what to make, I dreamt up ways to create a dessert whose slices would deliver the most figgy-ness possible. A batter made with more figs than flour would be the answer (for both my friend’s birthday and as a new versatile fall dessert). I started by drizzling ripe figs with warm molasses, then blended them with butter and spice. The result was a moist, flavorful torte enjoyed by both fig-lovers and the fig-averse alike, all with a slather of decadent cream cheese icing.
Frosted Fig Torte (Makes an 8″ torte; serves 10)
 For the torte:
- About 12.5 ounces ripe figs (about 15 small/medium figs — I used Black Mission. Over-ripe figs work just fine.)
- 1/4 cup molasses
- 1/2 cup unsalted butter at room temperature
- 1/3 cup (2.5 ounces/71 grams) granulated sugar
- 1 large/extra large egg
- 1 teaspoon pure vanilla extract
- 3/4 cup (4 ounces/110 grams) all purpose flour
- 1 teaspoon baking soda
- 1 teaspoon ground cinnamon
- 1 teaspoon ground nutmeg
- 1/2 teaspoon salt
Preheat oven to 350 F. Butter and flour an 8″ cake pan, or butter it and line bottom with parchment. Set aside. Rinse and dry figs. Remove stems and slice in half. Place in the bowl of a food processor. For best results, heat your molasses a bit before measuring; this will make pouring it easier, and will allow it to really permeate the figs. Pour 1/4 cup warm molasses over the  sliced figs. Pulse in food processor, stopping to scrape bowl with a spatula once or twice, until a thick puree has formed, speckled with fig peel and seeds (some small chunks of fig are also OK). Measure out 1.25 cup fig-molasses puree for the batter; set aside. Use the rest as you wish (it’s marvelous spread on warm toast or folded into oatmeal).
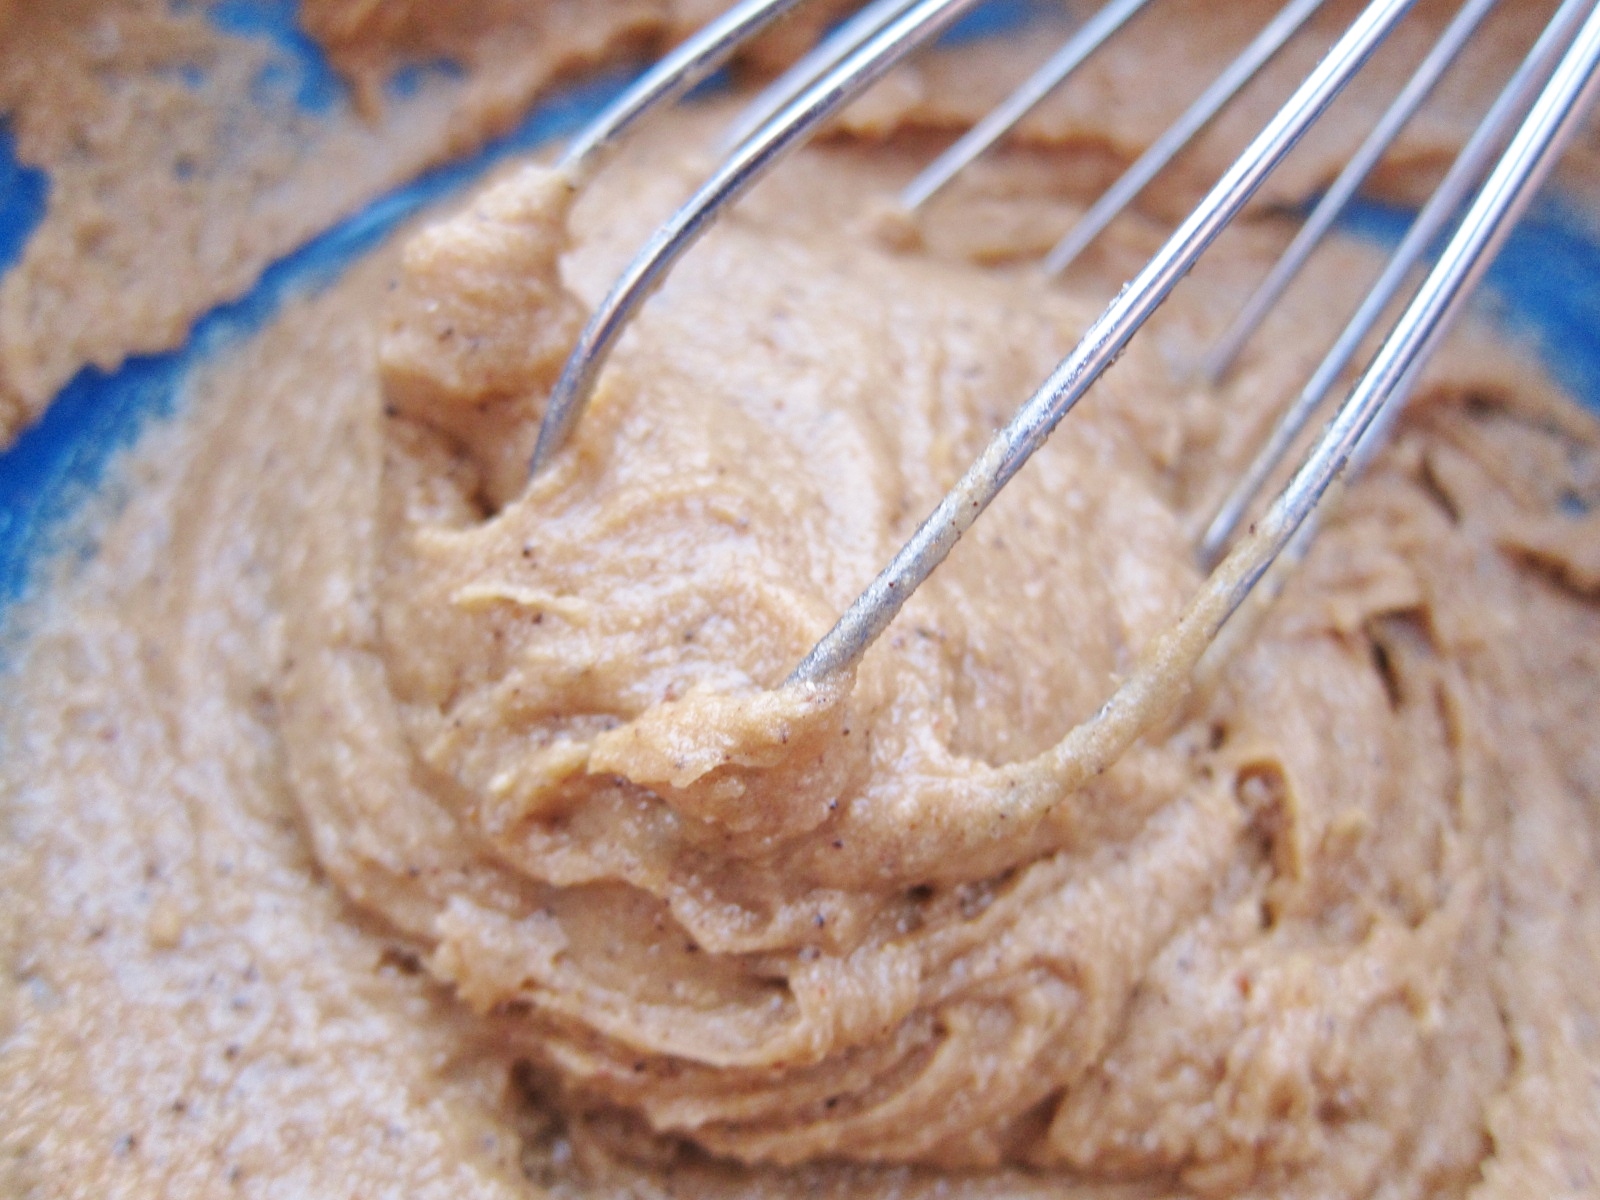
In a large bowl, beat the butter and sugar until creamy. Add the egg and beat until fully incorporated, followed by the vanilla. Sift over the bowl: flour, salt, baking soda, and spices. Mix until an even, thick batter has formed. Fold in the 1.25 cup fig puree, stirring until consistency is even. Spread batter into prepared pan. Bake for 25 – 30 minutes. A wooden toothpick inserted into the center should come out batter-free (a few moist crumbs are OK). Let torte cool completely, to at least room temperature, in the pan. Once completely cool and ready to frost and serve, invert onto a plate.
 For the frosting and decoration:
- 4 ounces (113 grams) cream cheese at room temperature
- 1/4 cup (2 ounces/57 grams) unsalted butter at room temperature
- 1/2 teaspoon pure vanilla extract
- 1/2 cup (2.75 ounces/75 grams) powdered sugar, packed
- 1/2 teaspoon cinnamon
- 1/2 teaspoon ground nutmeg
- 1/8 teaspoon salt
- A few medium figs for decoration, ripe but not mushy
Beat together the cream cheese and butter until smooth and even. Add the vanilla and mix well. Sift over the mixture: powdered sugar, cinnamon, nutmeg, and salt. Beat until smooth and even. With the cooled torte inverted onto a plate, slather generously and evenly with frosting. Rinse and dry figs. Cut most of the figs in half vertically, place face down, then slice into thin half circles using a sharp knife. Use the half circles to create a border around the edges of the torte. If desired, thinly slice remaining fig(s) into full circles for a center decoration like the one shown here. Cover and keep refrigerated if not serving with a few hours, and finish within two days.

With its burst of fall spices and its creamy, dense texture, this fresh fig torte goes beyond a fig-lover’s treat: it’s a succulent dessert that sings of the season. Rustic and luxurious at once, its speckles of fruit and spice will fill your kitchen with sweet autumn aromas: the kind that delight both one’s yearning tastebuds and one’s nostalgic heart. It’s wonderful enjoyed as a dessert, an accompaniment for afternoon tea, or even a decadent breakfast. For best results, share it with loved ones as a nod to autumn and all its magic.

Maybe next time… While I chose nutmeg and cinnamon, and found them lovely in this torte, the possibilities are always vast in the fall spice department: a pinch of ground cloves or some cardamom, ginger or allspice would all also be wondrous. In addition, the finely grated zest of an orange would be welcome in this batter as a nice complement the spices. While the cream cheese icing is scrumptious and heightens the moistness of the torte, a simple dusting of powdered sugar could make a delicious, pretty, and less-rich topping.

What makes a torte a torte? As I noted here, this is a debatable issue. In a reliable baking reference book, the index’s entry for “torte” simply states the following: “See cake.” Indeed, torte is the word for cake in some languages. From my own research, torte batters are much less reliant on traditional flour than cakes are; they tend to use ground nuts and/or fruit. Moreover, they are almost always single-layer and — unlike mine here — are rarely frosted. But to make the final version of my friend’s birthday torte more ornate, I tiered two separate layers and gleefully went wild with the decor. Voilà!


 Using about 1 tablespoon of dough per cookie, firmly form well-packed dough balls and place them 2 inches apart from one another on the lined cookie sheets; you should have about 30 little cookies. (If you have many more than this, they may be a bit small, requiring a slightly shorter oven time.)
 With their soft, tender bite and their deliciously complex texture, mulberry oat cookies are a new favorite in my crowd. Warm with molassesy brown sugar and rich browned butter, the chewy whole mulberries find a perfect home in a hearty and succulent format. Speckles of butter and spice bring on the decadence, while whole wheat and oats offer a balance of wholesomeness. This combination of qualities will make dad proud, and it’s definitely time to bake him some, since my first batch disappeared instantly.


 TO PREP THE CANDY:
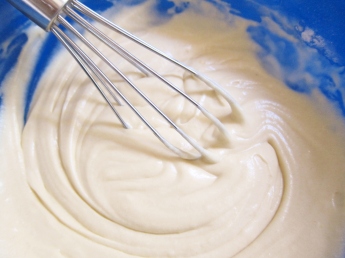


