It’s been hard not to notice the abundance of tomatoes in season lately. I’ve seen vibrant varieties of colors and shapes at farmers markets, grocery stores, and gardens of green-thumbed friends. They whisper that summer is sneaking away as the magic of autumn awaits us. They offer a burst of life and color while the sky gets a little darker each day.
 Juicy, tangy and sweet, seasonal tomatoes make it obvious that they’re fruits and not vegetables. Eating one recently, I noticed that it almost tasted like a berry, and I wondered why we make sweet treats from pumpkins and zucchini but hardly ever from tomatoes, at least not that I’ve seen or tasted. Now was the time.
Fresh Tomato Spice Cake
(makes a 9 x 13” cake; 20 – 40 slices, depending on size)
- 2 and 2/3 cup pureed fresh tomatoes (from about 1.75 pounds ripe tomatoes; see instructions)
- 4 eggs
- 2 cups sugar*
- ¼ cup molasses*
- 1 cup vegetable oil
- 4 cups all purpose flour
- 2 teaspoons baking soda
- 1.5 teaspoon salt
- 2.5 teaspoons ground cinnamon
- 2.5 teaspoons ground nutmeg
- 1.5 teaspoon ground ginger

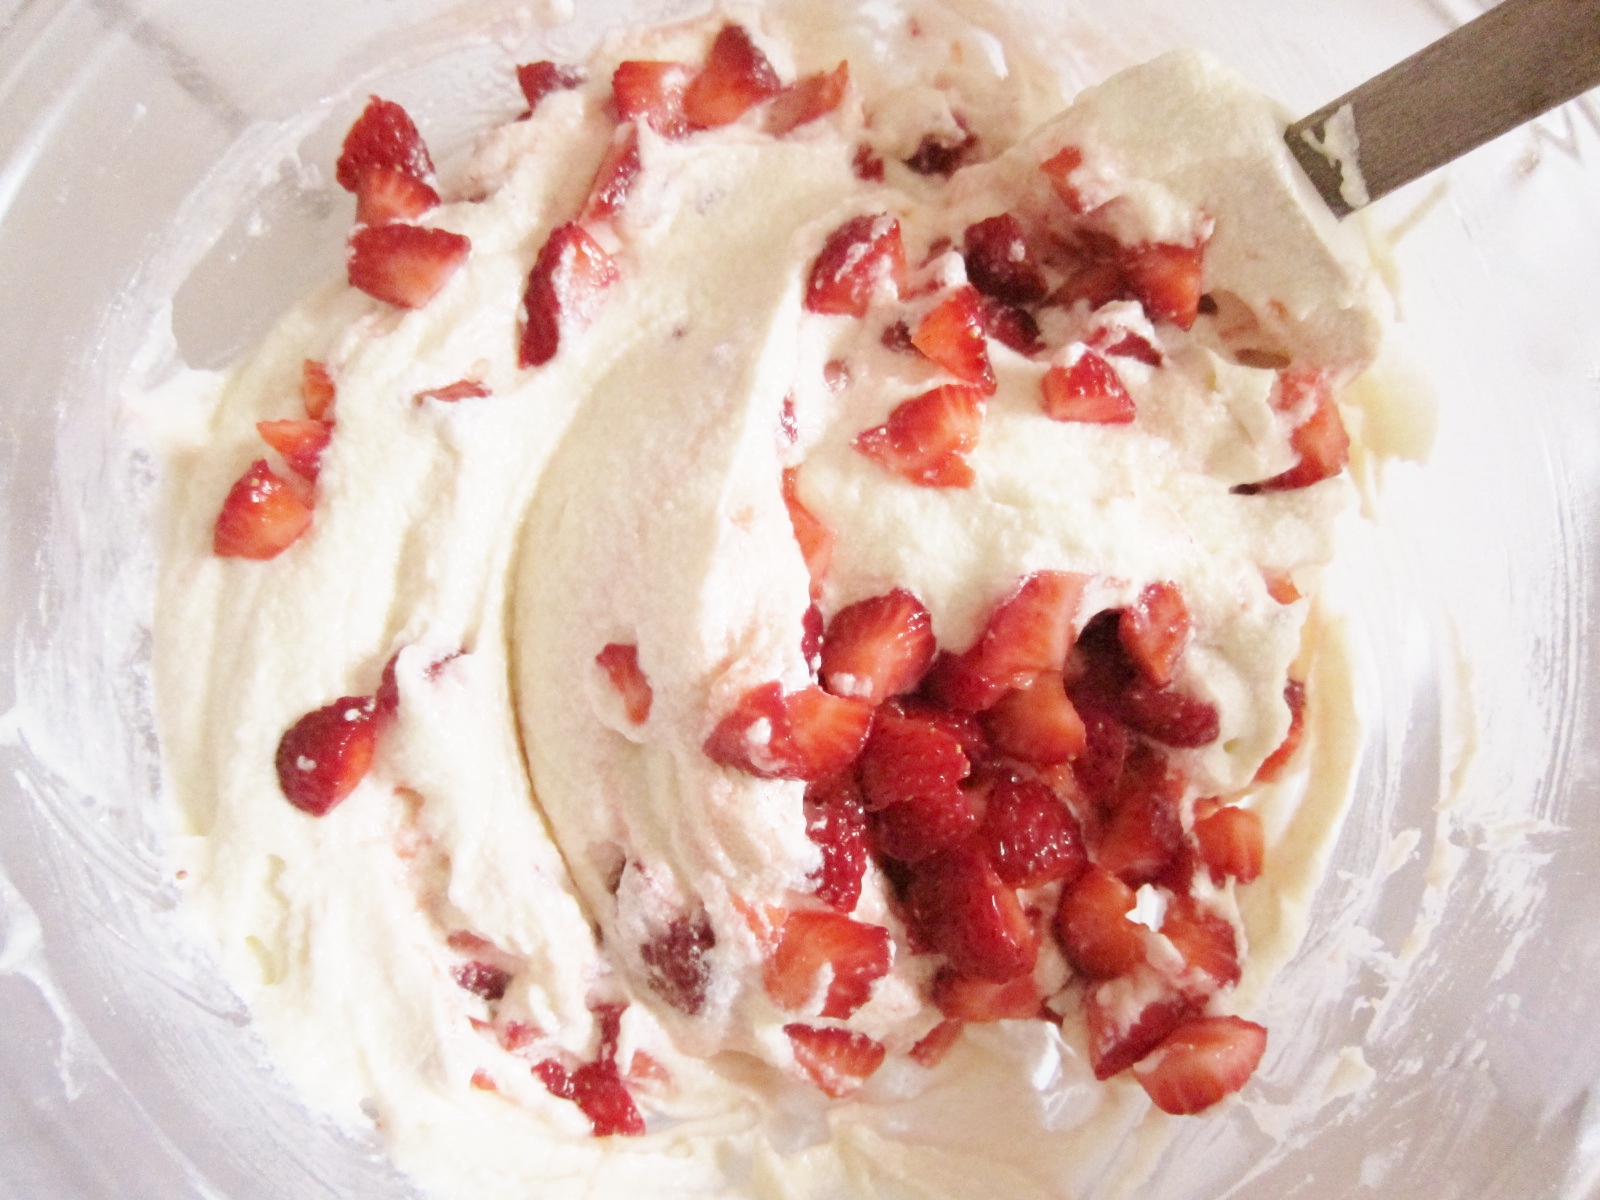
Preheat oven to 350 F. Line a 9 by 13” cake pan with parchment paper; grease parchment and inner sides of pan. Wash the tomatoes and cut the stem spot off each of them, then slice into fourths and place in food processor. Puree until liquidy and even in consistency; little flecks of colored skin are welcome. Measure out 2 and 2/3 cups; set aside. In a large bowl, beat the eggs, sugar and molasses until smooth and even in color. Beat in the oil until incorporated. Sift all remaining dry ingredients over the egg mixture. Begin to fold in the dry ingredients, gradually adding the measured tomato puree. Scrape sides and bottom of bowl with spatula; mix until batter is even. Pour into prepared pan, smoothing top with spatula. Bake for 35-45 minutes, until center tests clean with a toothpick and no longer jiggles. Let cool completely in pan, then transfer to a large plate or cutting board.
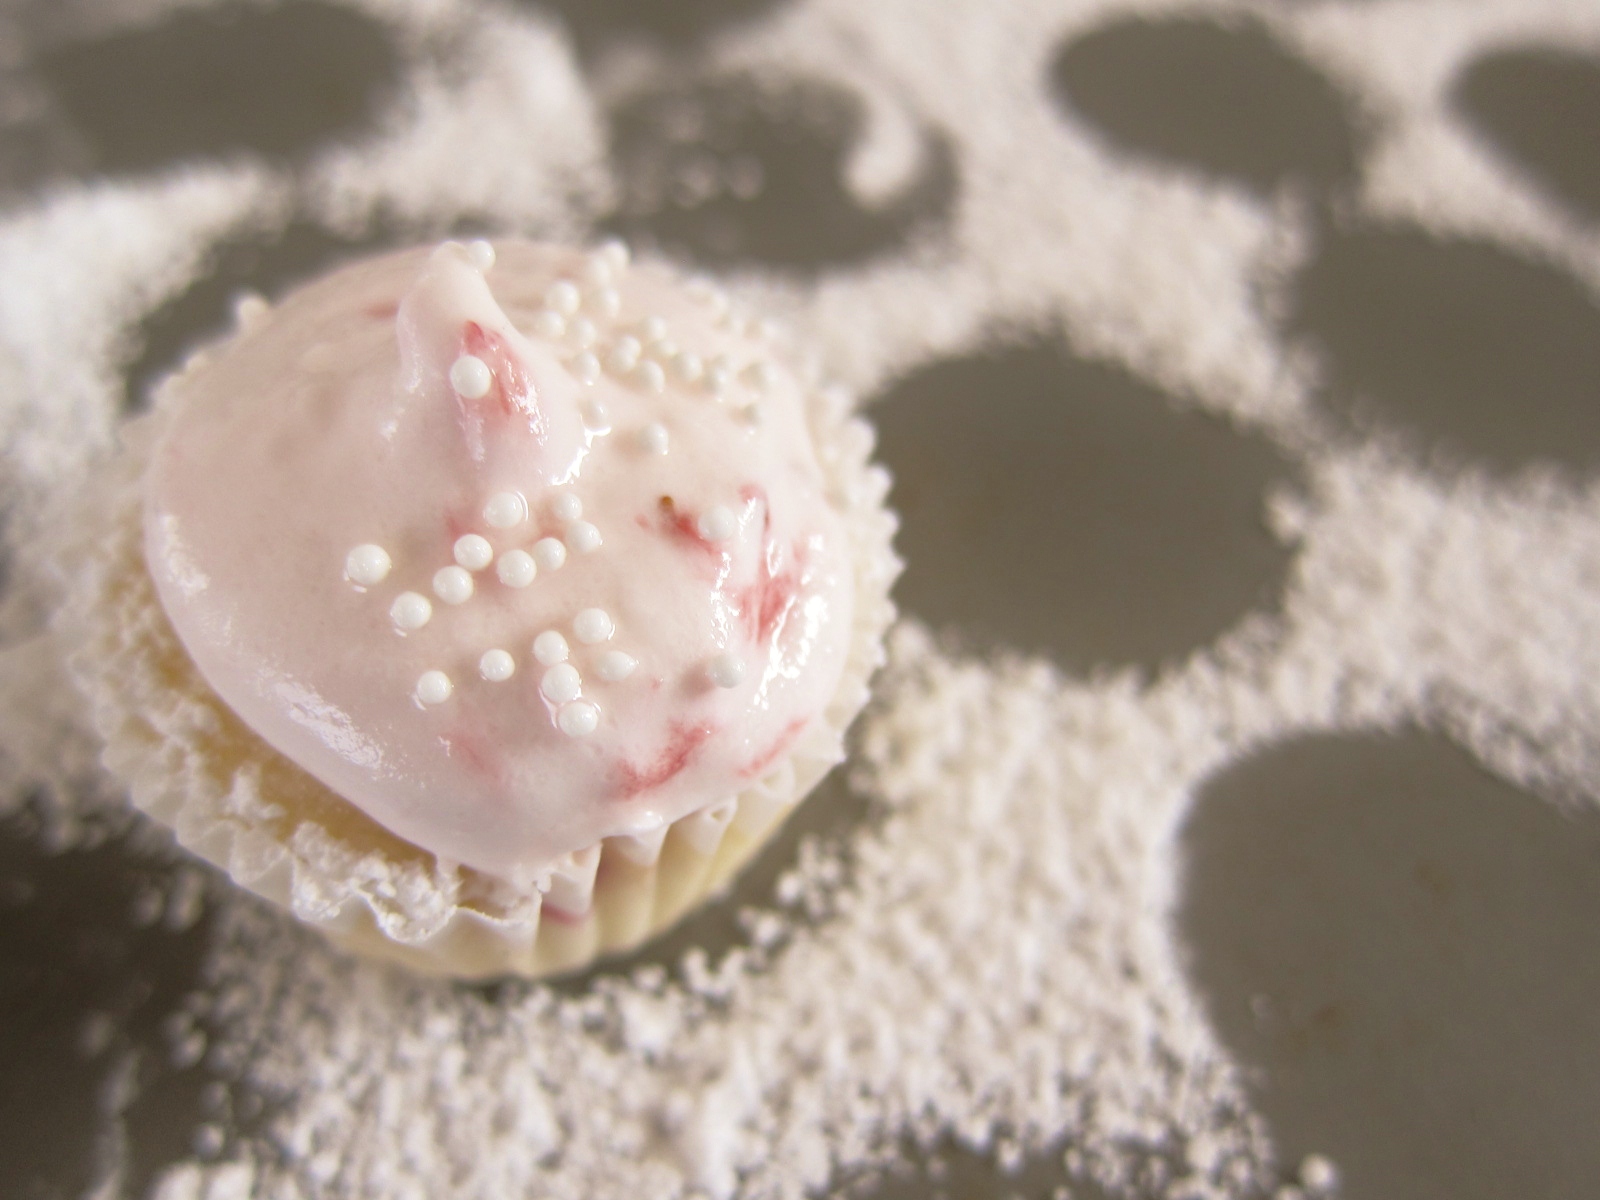
 For an easy, pretty icing, whisk together ¾ cup powdered sugar, 1-2 tablespoons lemon juice (added gradually), and a few dashes cinnamon and nutmeg. Drizzle diagonally over cake using a fork or plastic bag with a small hole cut in its corner. Let icing dry before serving.
 Sweet, spicy, and full of fall flavors, this colorfully-flecked cake has taken on the nickname Secret Ingredient Spice Cake in my orbit. You see, I brought it to work last week and placed a sign next to it that read: “Guess the secret ingredient: Pumpkin, persimmon, beet, sweet potato, zucchini, tomato, carrot, or apple?” It turned out to be one of the most fun times I’d had at work in quite a while. Interestingly, pumpkin and persimmon were the top guesses by far. Some reported they could taste a pleasant hint of tomato — but only after finding out it was there. Most people simply called it delicious, and everyone seemed happy to be given a slice of fresh, homemade cake at the end of a long week.

Maybe next time: Instead of the drizzled icing described above, cream cheese frosting would be wonderful slathered over this cake or piped in a swirl atop each slice. Likewise, a sprinkled of powdered sugar is yummy. Feel free to add more of any or all the spices (and others) to your taste. When I make this again, I’ll definitely add the zest of an orange or two to the batter — I’m certain it would be complementary — as would a big scoop of nuts or raisins. Finally, this enormous cake can easily be halved and/or split into layer cakes, loaf pans or muffin tins; just be sure to reduce your baking time accordingly.

 *When you mix molasses and white sugar together, you essentially make your own brown sugar. The result is moister and a little more molasses-y than pre-made brown sugar, so I lean toward doing this for the richer flavor, especially when I don’t have brown sugar already on hand. If you’d rather not, or don’t have molasses, then instead use 2 very firmly packed cups of moist, dark brown sugar.


 Allow me to introduce my absolute favorite dessert to make and to eat, beginning to end. There’s something about its involved creation process that exemplifies the wonder that can come with baking from scratch. The outcome — moist, nutty and rich — is marvelously delicious, and it just might make you decide to name your children Hazel and Filbert.
 It all started several years ago when my friend Ema told me of her love for hazelnuts, also known as filberts. At the time I’d only tasted hazelnuts raw, from a salted nut assortment, or as a filling buried in chocolatey candy and spreads. Hazelnuts simply hadn’t impressed me, but I was willing to reconsider. When Ema invited me over to bake with her, I looked for hazelnut baking recipes but didn’t have much luck. I did come across an old almond cake recipe I’d been given, and I quickly began modifying and transforming it. The outcome was incredible and has forever changed my view of hazelnuts. I proudly present it to you now.
 Grease and flour the bottom and sides of an 8” cake pan (or grease and line pan with parchment). In a large bowl, beat the softened butter and cream cheese until smooth. Add the sugar and mix until incorporated. Add eggs one at a time, beating well and scraping down sides of bowl if needed. Mix in the vanilla seeds and almond extract. Sift the flour, baking powder and salt over the bowl. Mix until batter is even in consistency. Fold in the crushed hazelnuts until evenly distributed. Spread batter into prepared pan; bake at 325 for 55-70 minutes, until top is
  When I made this cake recently, I wanted it to be summery, so I topped it with sliced, ripe white saturn peaches (they’re delicious, their slices are adorably petite, and they’re very much in season right now). I used my leftover cream cheese, some butter and powdered sugar to whip up a cream cheese frosting as a bed for the fruit. And to keep the peaches shiny and colorful, I brushed them with an apricot glaze (a simple mixture of simmered-then-cooled apricot preserves and little water), which I also brushed onto the sides of the cake. But believe me, this cake is just as delicious topped simply with a few berries or other fruit, iced with a basic vanilla icing, dusted with a bit of powdered sugar, or even served plain.
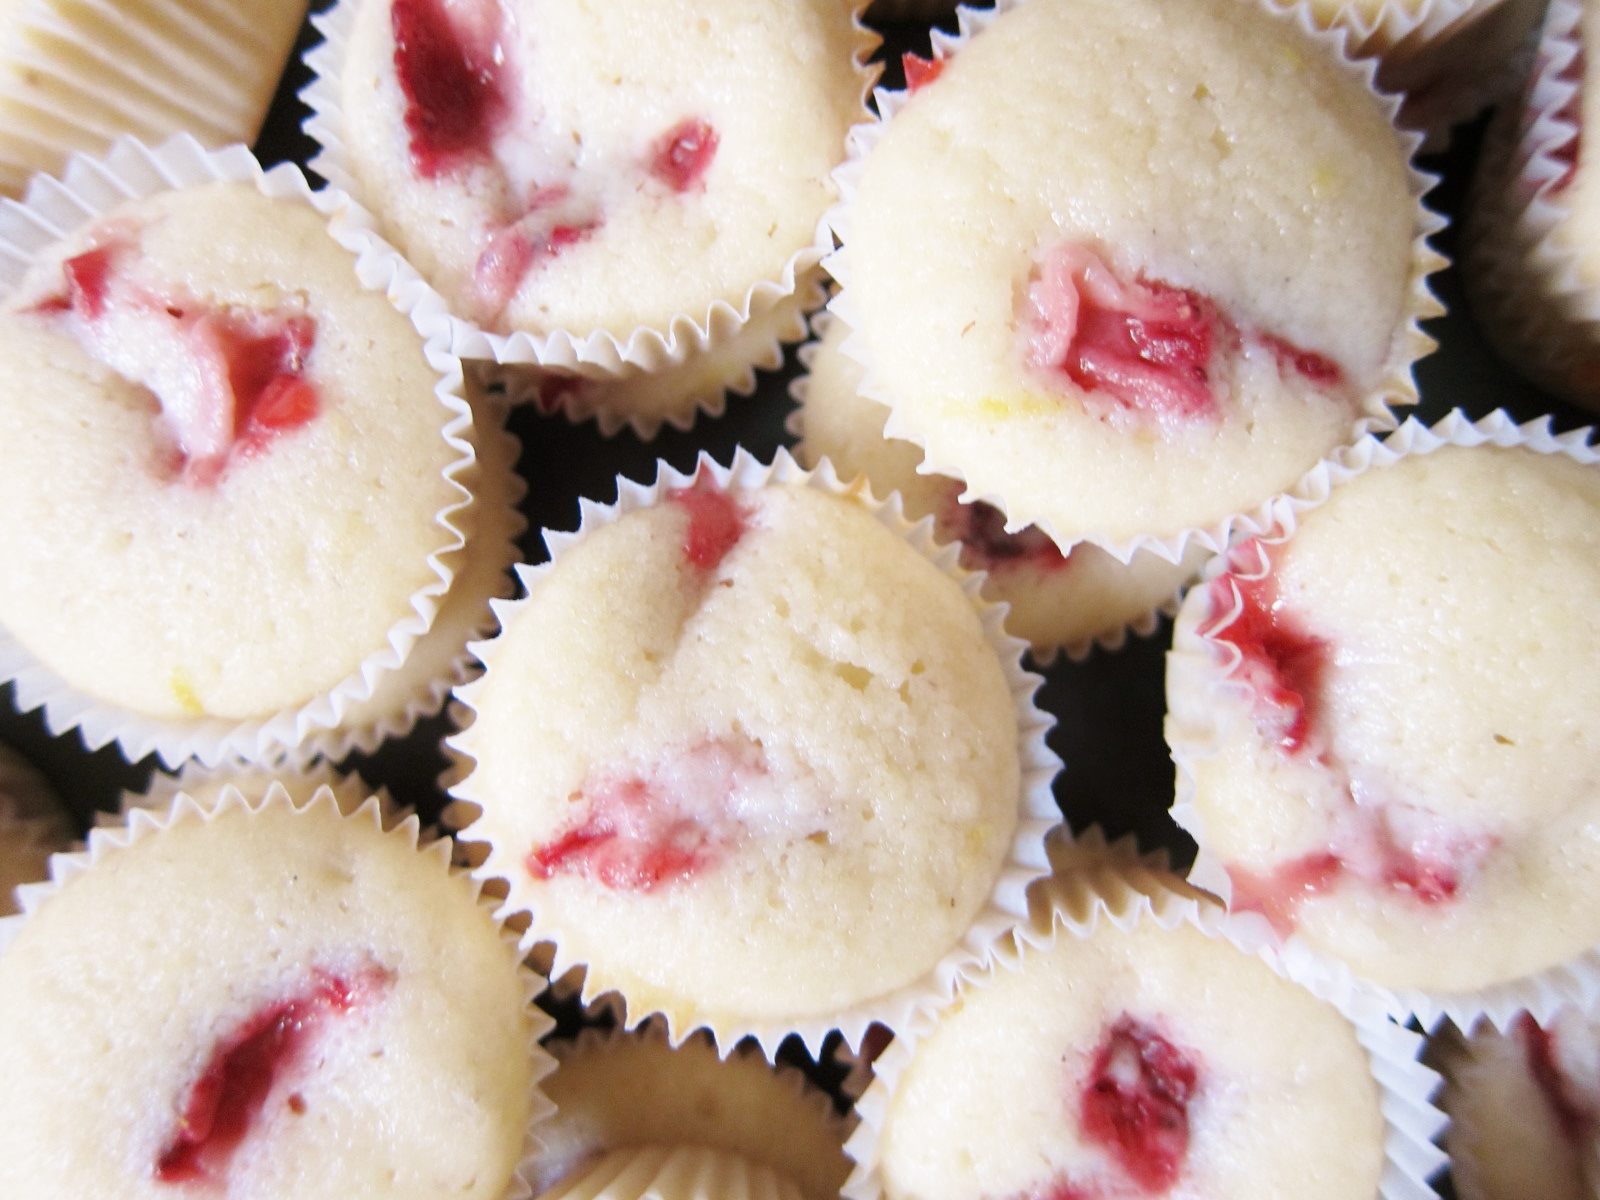
 Maybe next time… Don’t be afraid to play with the format of this wonderfully versatile cake! I’ve made it into fantastic cupcakes (this recipe makes 18 standard-size cupcakes), frosted layer cakes for parties — and I was even successful making it gluten-free (I replaced the wheat flour with Bob’s Red Mill gluten-free flour mix and half a teaspoon of xanthan gum). For cupcakes or multi-layer cakes, be sure to reduce the baking time significantly and watch them carefully, checking them for done-ness often. The only plea I have for you is that you let the hazelnuts shine on their own; please don’t drown this cake in overpowering flavors, including chocolate. Cream cheese, white chocolate, and browned butter frosting have all worked well for me, but feel free to get creative. And one more thing: I again suggest you keep this cake out of the fridge; it’s really best at room temperature (and besides, it’s very likely to disappear quickly–before you’ve even had a chance to think about preserving it).