 Herbal and effervescent, a gin and tonic just might be the most refreshing concoction in existence. I’m not sure why the drink has been on my mind lately; perhaps it’s the recent surge of warm weather, or more likely, my own need for invigoration. Whatever the reason, gin and tonic was quick to transform from a classic cocktail to a fresh dessert – first in my mind, then in my kitchen.
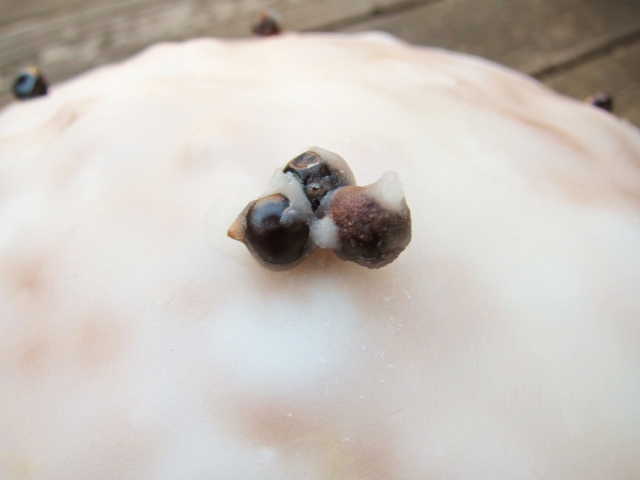
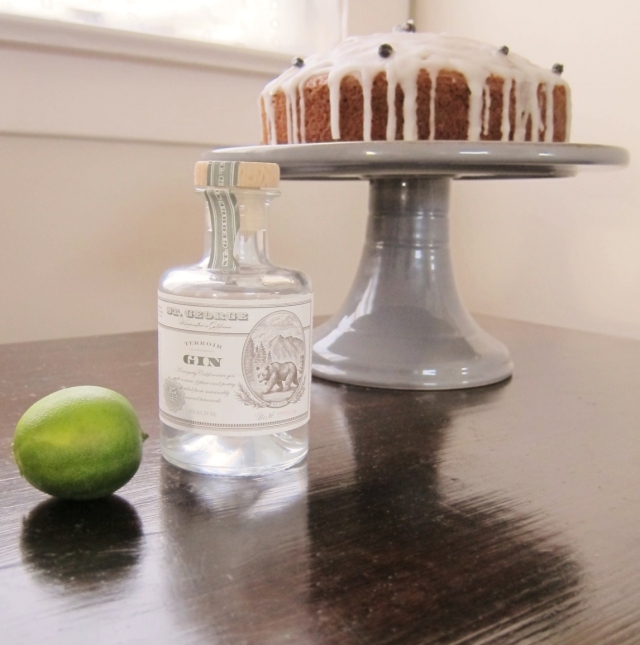
 Juniper berries are intrinsic to gin, so it seemed natural to reach for them here, ignoring their common use as a savory seasoning. A bit sweet and sour with a hint of pepper and pine, the little blue spheres taste a lot like the liquor they flavor: aromatic, clean, earthy and botanical. I chose a unique, locally-sourced gin that proved to be simultaneously warm, cool and forest-like on the palate. It was sure to pair wondrously with fizzy tonic water and fresh lime – not merely to sip, but to bite, chew and savor.

Gin and Tonic Cake (makes a tall 8″ round cake; serves 10-12)
Please note: Since originally posting this recipe in 2013, I’ve improved a few steps, and I’ll soon share a fully revised version of this post with further details. For now, here are the two main changes: First, I stopped decorating the cake with any juniper berries and instead use the full amount of berries ground and mixed into the cake batter; I’ve come to prefer white sprinkles/sugar pearls, and sometimes lime zest, as the decoration. Second, and most important: the original glaze recipe embedded in this recipe can be fussy! I now strongly recommend a more trustworthy, tasty version — please see the very bottom of this post for the updated method.
- 3 small limes
- 45 juniper berries* (about 1 tablespoon)
- 2 large eggs
- ½ cup vegetable oil
- ¾ cup granulated sugar
- 1 tablespoon pure vanilla extract
- 2 cups flour
- 2 teaspoons baking powder
- 2 teaspoons baking soda
- ½ teaspoon salt
- 2/3 cup gin, divided
- ¾ cup tonic water (fresh; not flat. Flat tonic can lead to batter overflowing in the oven.)
- 2 cups powdered sugar (for the glaze; don’t be alarmed — this large amount shrinks)
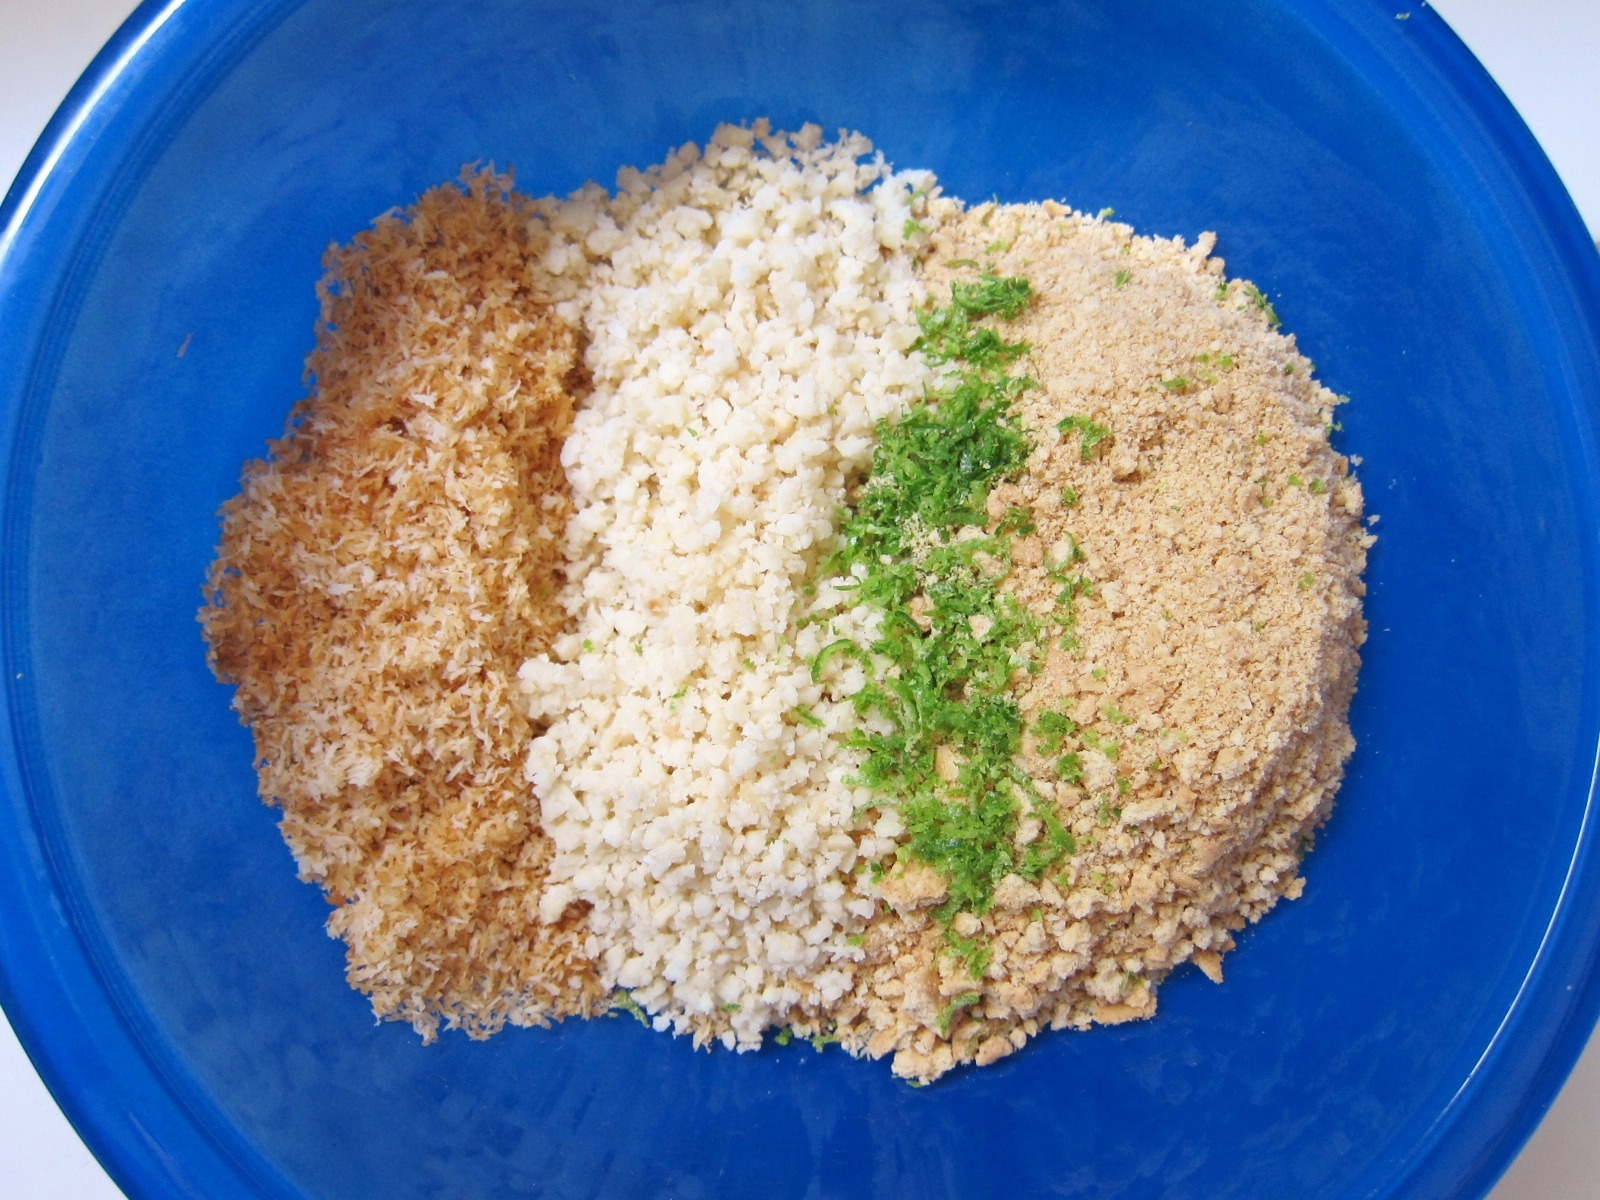
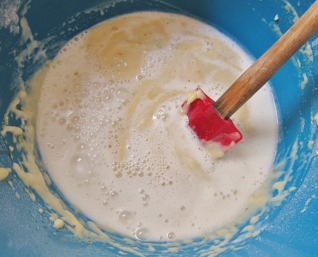 Line an 8” cake pan that’s at least 2″ deep with parchment paper; lightly grease paper and sides of pan. Preheat oven to 350 F. Finely zest limes; set aside zest. Juice limes and measure out ¼ cup juice and, separately, 1 tablespoon juice; set both aside. Using a mortar and pestle or spice grinder, mash 30 of the juniper berries until small flakes are formed; set aside. In a large bowl, beat together eggs, oil, granulated sugar and vanilla until even and smooth.
Sift over the mixture: flour, baking powder, baking soda and salt. Mix on low speed, gradually adding 1/4 cup lime juice and 1/3 cup gin. Beat until smooth. Toss in the lime zest and 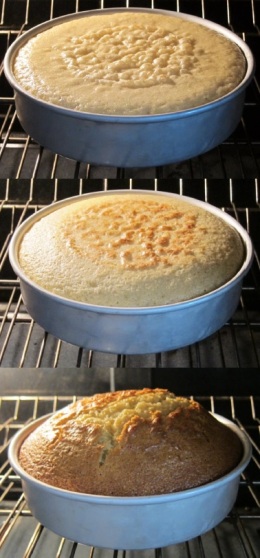 crushed juniper berries, mixing until evenly dispersed. Gently fold in the tonic water with a spatula, then quickly pour into prepared pan. (If desired, watch the batter bubble, brown and gloriously raise in your oven! Height will depend on freshness of baking soda and tonic.) Bake the cake for about 40-45 minutes, first checking center with a wooden skewer or toothpick at the 35 minute mark; cake is done when no wet batter appears; a few moist crumbs are OK. Cake will be golden brown, likely domed with with a few cracks.
Remove cake from oven and let cool in pan at least 45 minutes. Loosen sides of cake with a butter knife, remove parchment, and carefully transfer cake to a wire rack over a baking sheet. While cake cools a bit longer on rack, make the glaze (see revised, less fussy version at the very end of this post. Original version follows in the next sentence to keep the original post authentic).
Place the powdered sugar, remaining tablespoon lime juice, and remaining 1/3 cup gin in a saucepan. Whisk over medium heat for only about 30 seconds; remove from heat while still opaque and keep stirring. (This amount of heating is just enough to activate the thickening power of the corn starch in the powdered sugar. Longer heating turns the sugar into a clear sticky glaze that will remain wet; if this happens, whisk in more powdered sugar immediately, but don’t use too much more; keep the glaze at pouring consistency.)
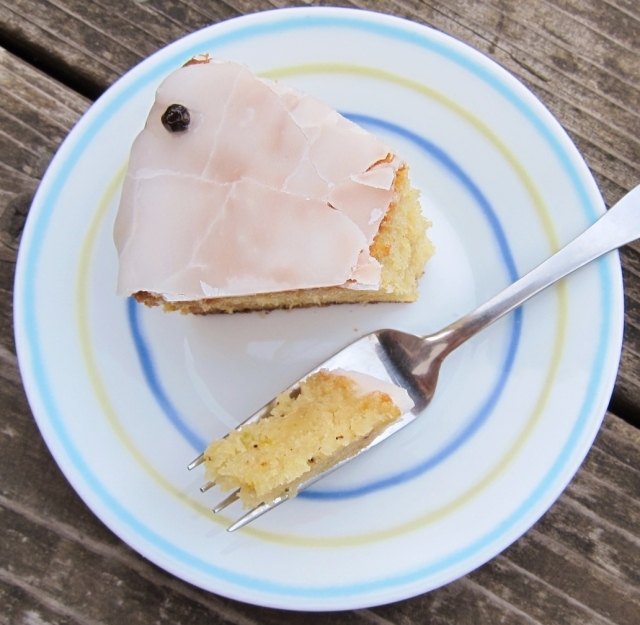
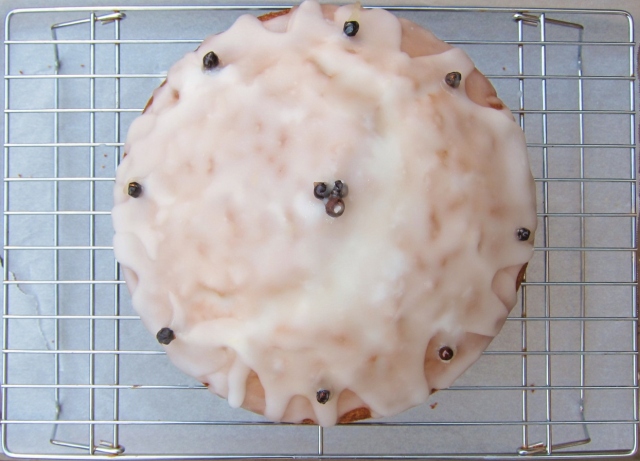
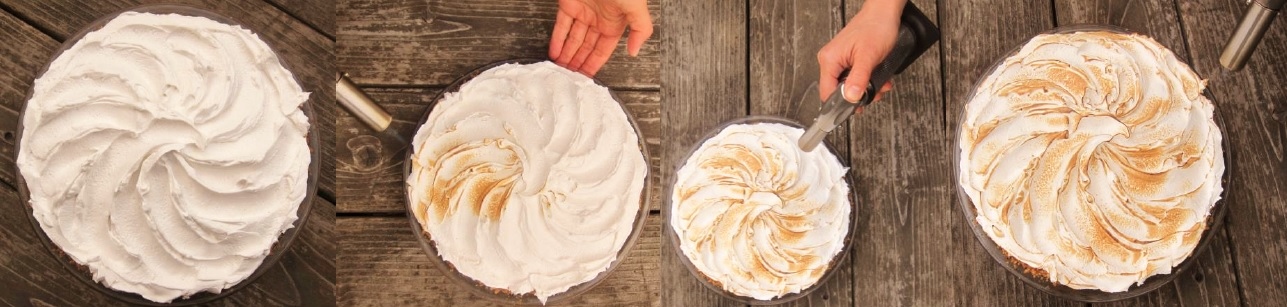
Working quickly, pour half of the glaze over cake; it should harden fast. Immediately repeat with second half of glaze, letting it drip down the sides of the cake. Reserve a bit of glaze in pan, tossing the remaining 15 juniper berries in it. If glaze in pan is already too hard, place pan over low heat momentarily. Using small tongs or baking tweezers (the sugar coating is HOT), quickly place glazed juniper berries evenly around edges of cake and a few in the center. (You may notice that I only used 8 around the edges of my cake, but I suggest placing 12+ around the edges so that each slice bears at least one berry.)
Keep cake uncovered or loosely covered until ready to serve, preferably the day it’s made. Store leftover cake well-covered at room temperature (don’t refrigerate); eat within 2 or 3 days.
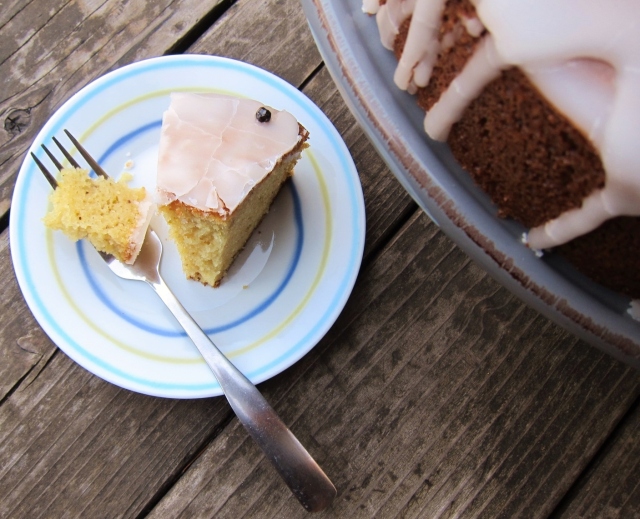
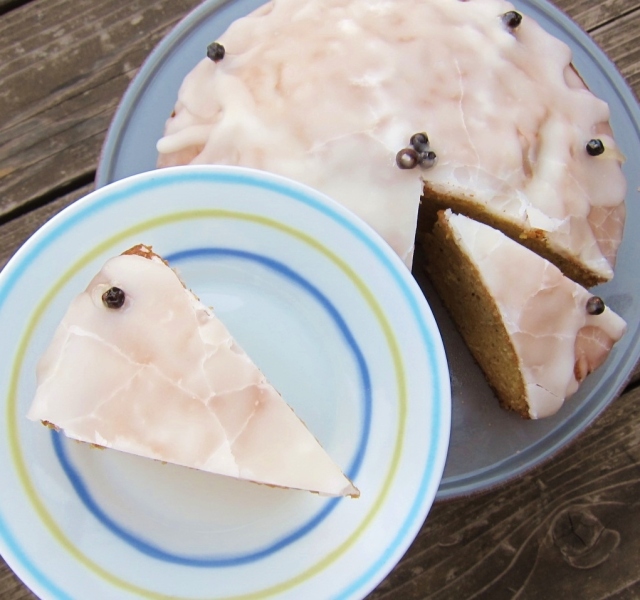
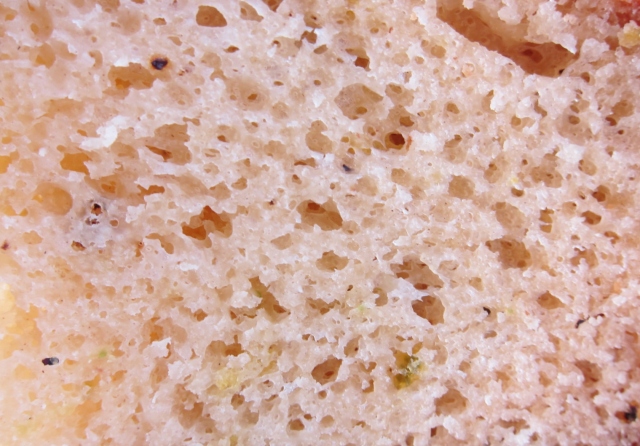
With an undeniable echo of the cocktail behind it, the gin and tonic cake offers herbal undertones and citrusy traces of juniper in a moist and fulfilling format. The sweet, boozy glaze envelops a tender crumb, giving each bite both crispness and a kick. While the carbonation vanishes from the end result, its tiny air pockets make for a springy and scrumptious dessert. Refreshment, sweetness, and spirits – what more do you really need?
 Maybe next time…
- If your cake will be sitting out uncovered for awhile, you can whisk together a tablespoon each of vegetable oil and gin, and brush the sides (only) of the cake before adding the glaze. This will keep the sides from getting dry.
- For a ginnier taste, brush the cake with a more liquor before drizzling with icing. For less boozy flavor, replace some or all of glaze’s gin with more lime juice.
- If your 8″ cake pan is not at least 2″ deep, you can use a 9″ pan, but watch the baking time closely — as a thinner cake, it will bake faster.
- For G&T cupcakes, this recipe will make two dozen standard sized, and they bake super fast — like in 8 minutes! — at 350F. Remember to line your cupcake pans and be ready to work quickly with the fast-drying glaze.
- As for the gin itself, it goes without saying that using a different kind will change the flavor of this dessert. Use whatever kind you like–though I can recommend with great confidence the magical type I used here, whether for sipping or for baking. (Despite the notion that distinctive spirits and cooking shouldn’t mix, the quality and character of what you use will always come through, so my philosophy is: might as well use something good!)
- Finally, for a more classic, less liquor-y, citrus yellow cake, use traditional frosting instead of the glaze, but to keep the dessert dairy-free, make sure your frosting is, too. You can even split the cake into two layers (shortening the baking time and watching carefully) for a more classic layer cake.
*I found my jar of juniper berries in the spice aisle of my local grocery store. I admit I tossed a handful of them my salad a few nights ago and greatly enjoyed the enhancement — but above all, their promise as a baking ingredient has captivated me, and I can assure you they’ll be back on my dessert menu in the future. In fact, I’ll likely add more to this recipe next time; feel free to adjust your amount to your taste, too.
New and improved glaze method:
Place cooled cake on a wire rack nearby with a tray or liner underneath to catch run-off glaze. Measure out 2 cups powdered sugar, well packed, and set nearby. In a 1/3 cup measure, place 1 tablespoon lime juice and 1 teaspoon pure vanilla extract. Fill the rest of the cup measure with gin. Place in a small to medium saucepan. Add a dash or two of salt.
Heat until liquid just comes to a strong simmer, bubbling — this won’t take long. Turn off heat and add all the powdered sugar to pan. Working swiftly, whisk mixture vigorously, just until consistency is even. Immediately pour over cake; it should dry quickly. Repeat to add another layer of glaze.
If using sprinkles or other decorations that need to stick, add them immediately while glaze is still moist. (If glaze dries in pan before you’re done, you can heat it very briefly and whisk again to reuse, but avoid high heat and keep heating time short.)
Share/like/save this post:

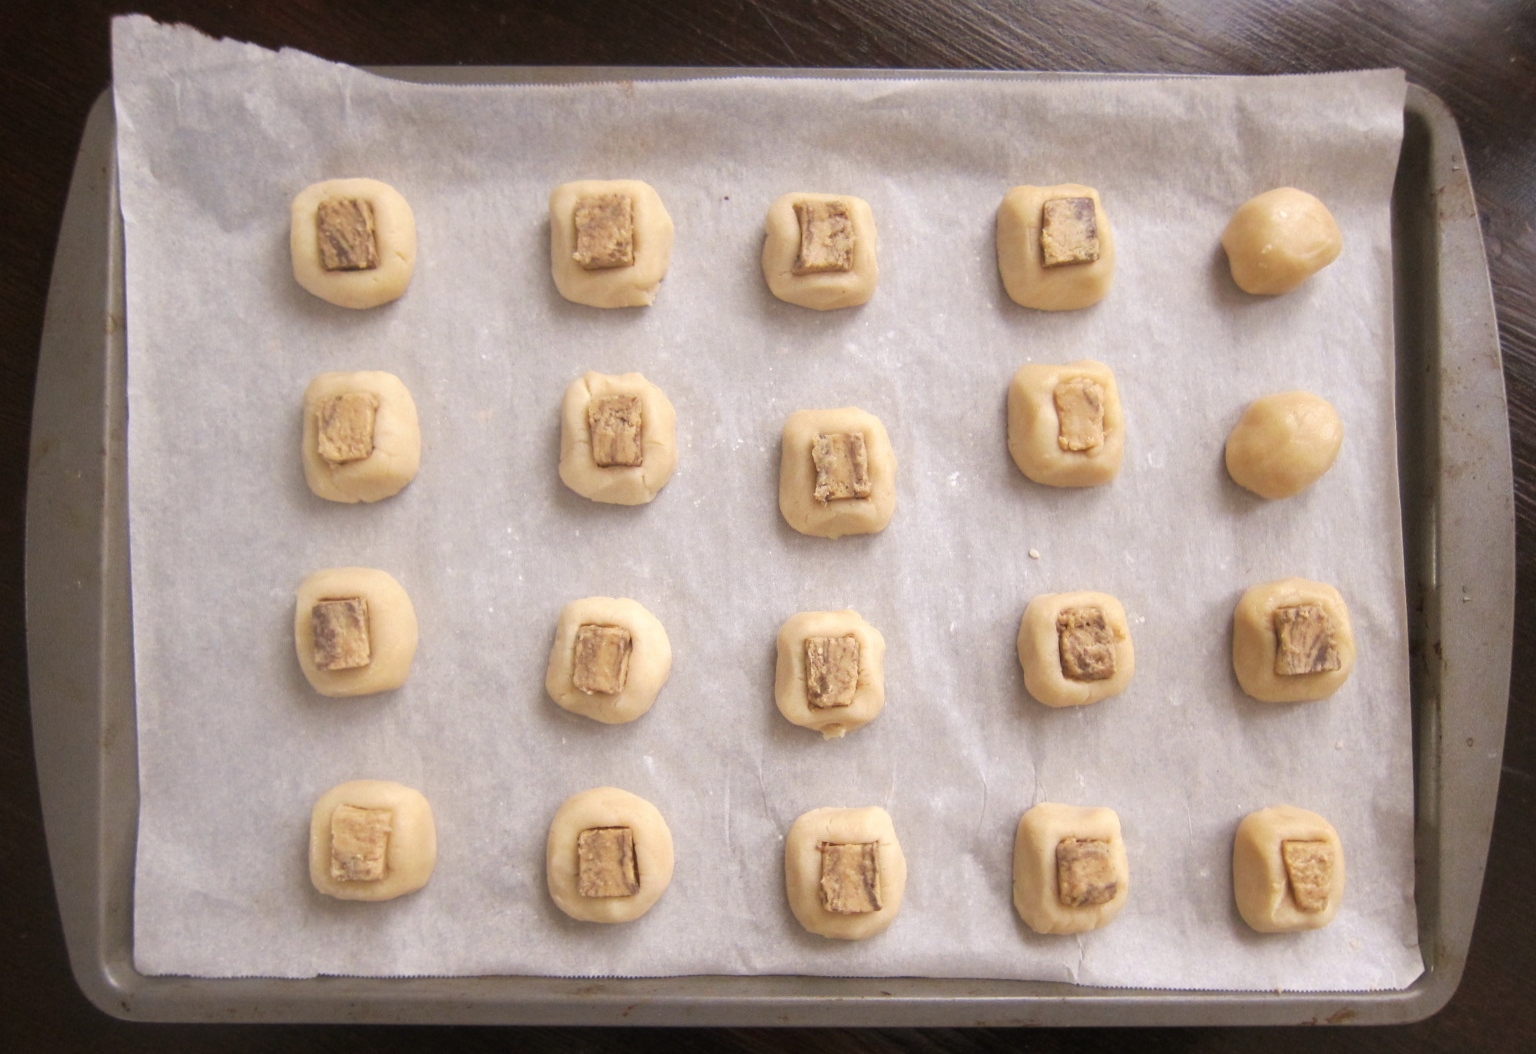

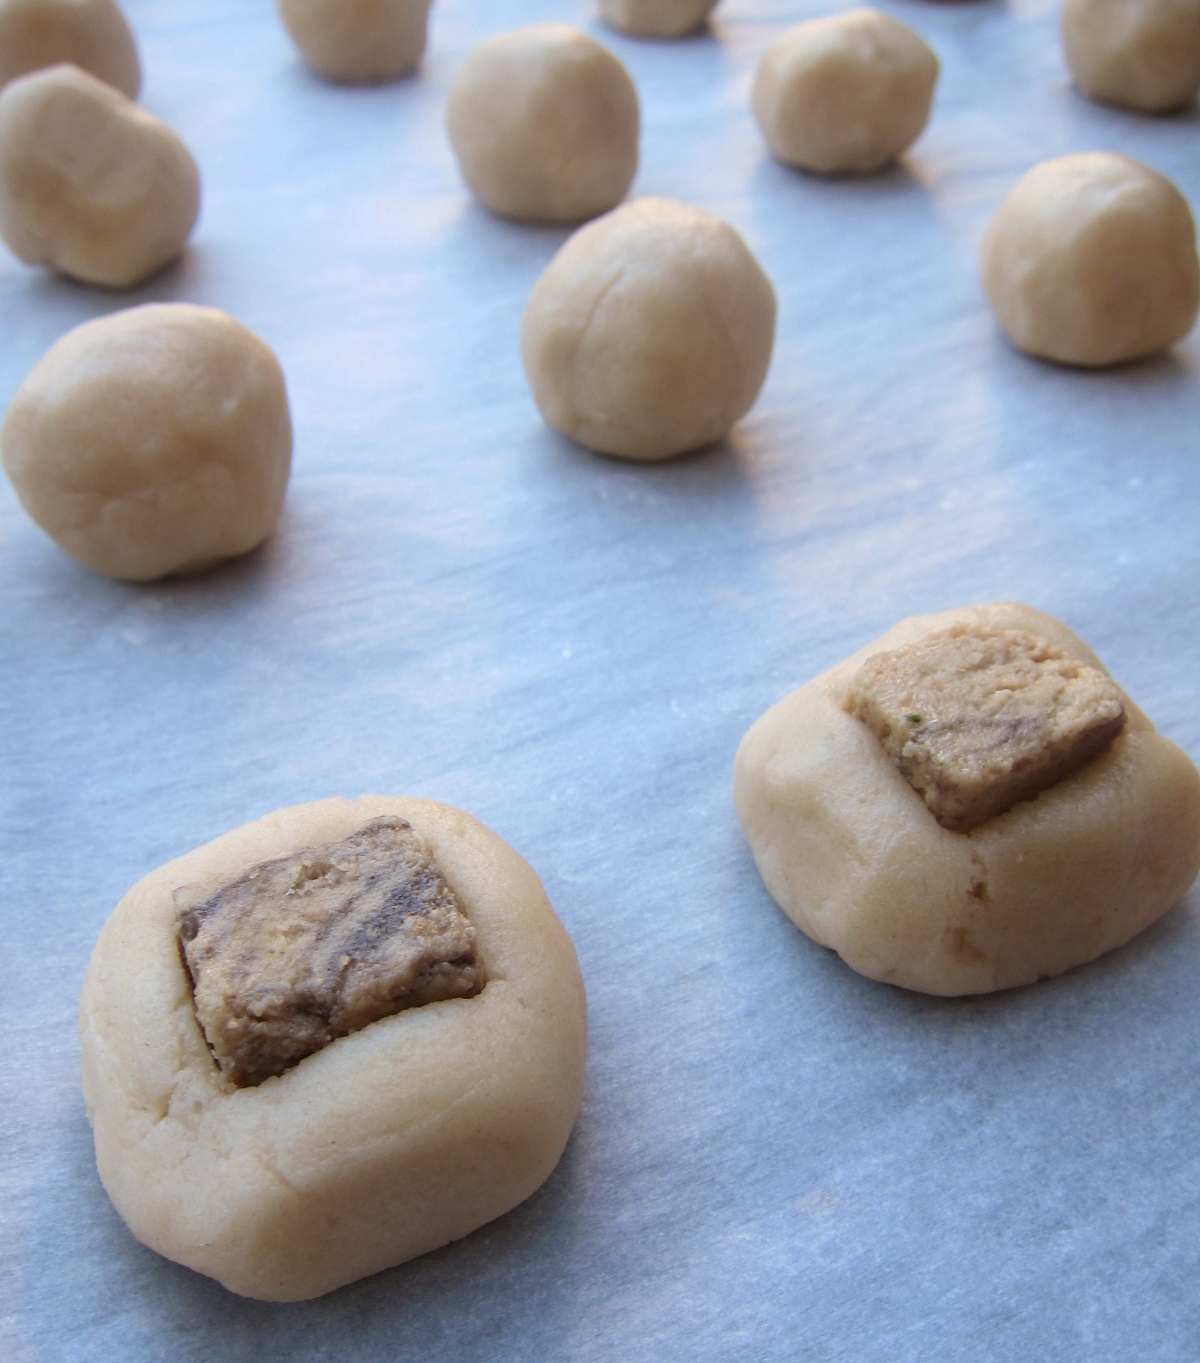
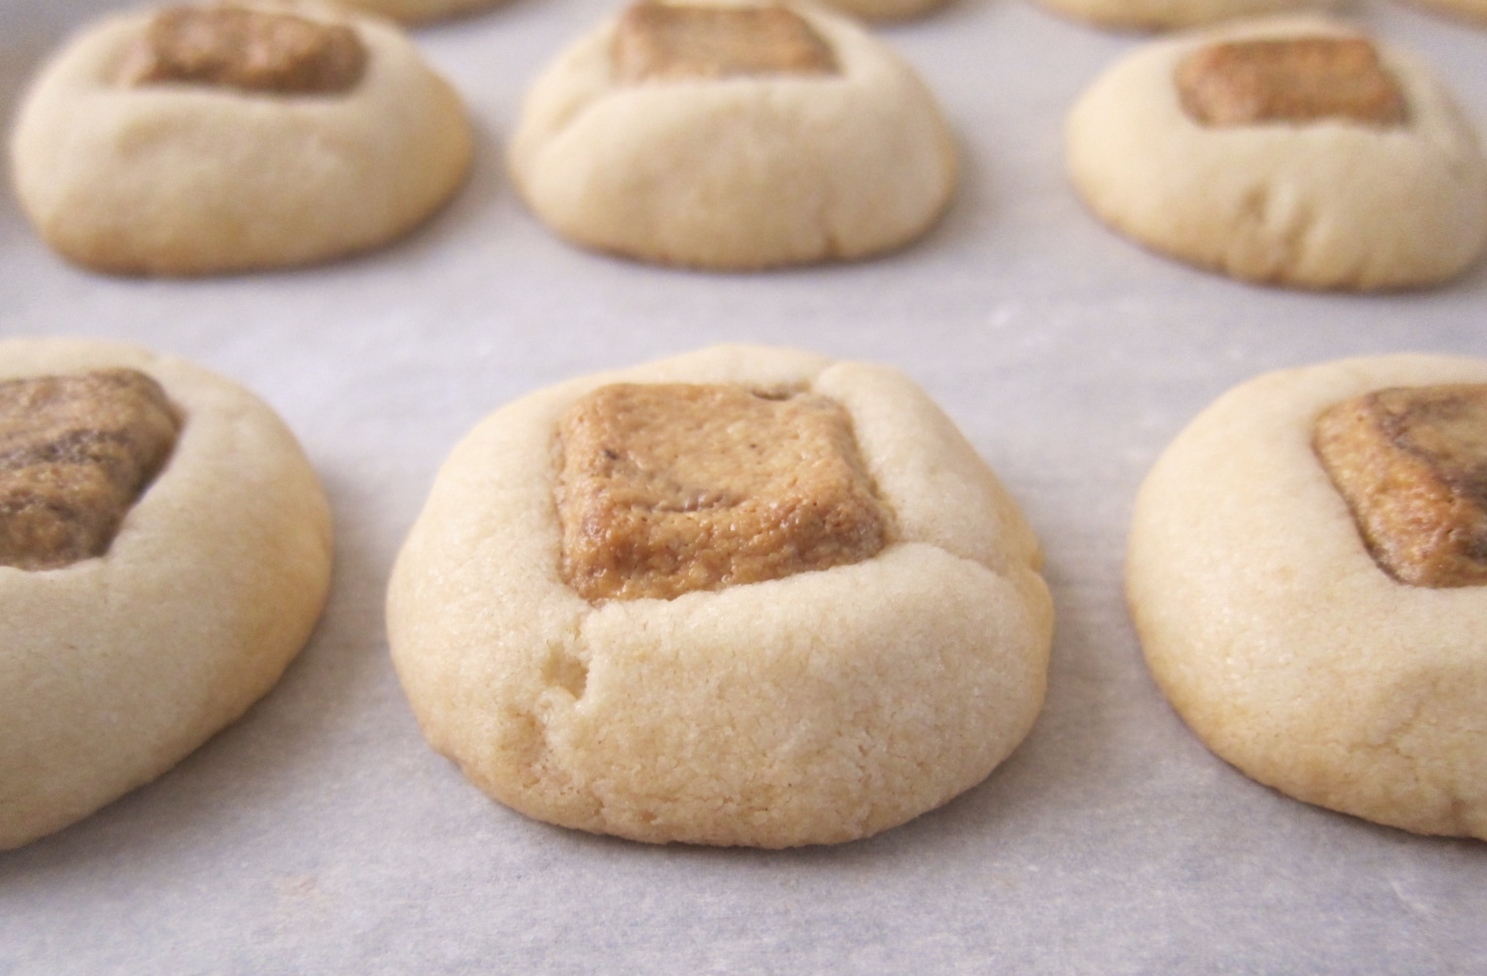
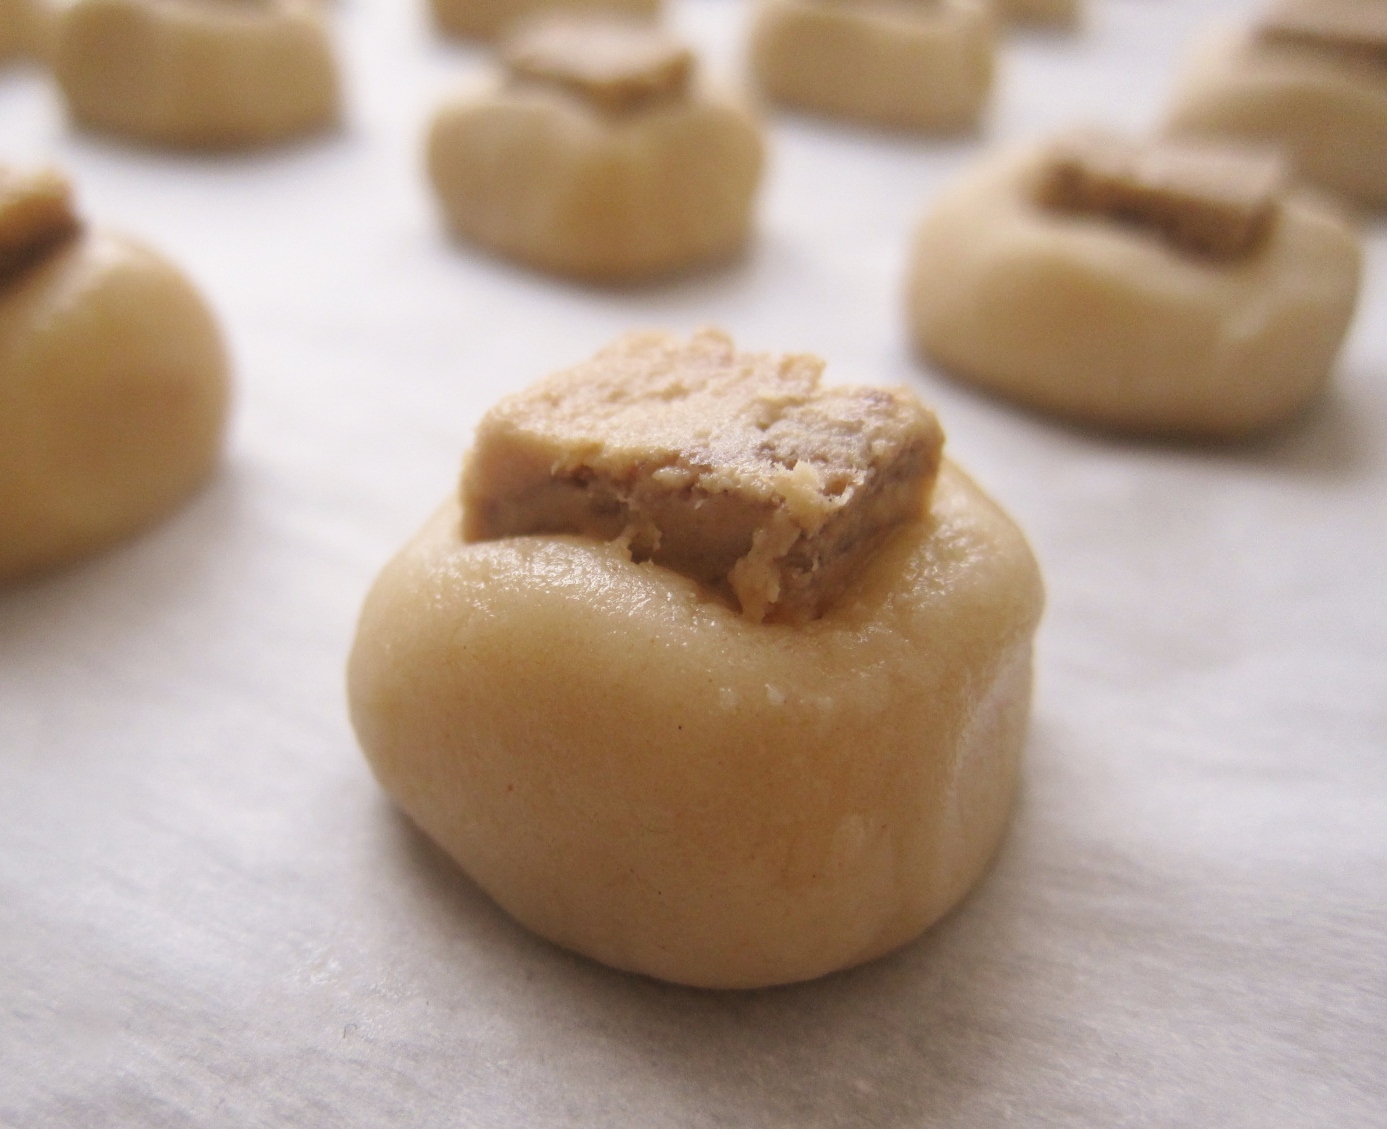 Form dough into balls a little over 2 teaspoons each (about .6 ounce a piece), placing them at least 1.5” apart from one another on prepared baking sheet. Push a cube of halvah firmly into the center of each cookie, bracing sides of dough and squeezing gently to hold the halvah in place. Freeze cookie sheet for 20 to 30 minutes (they will still spread a bit when baked, but this will help them hold their shape).
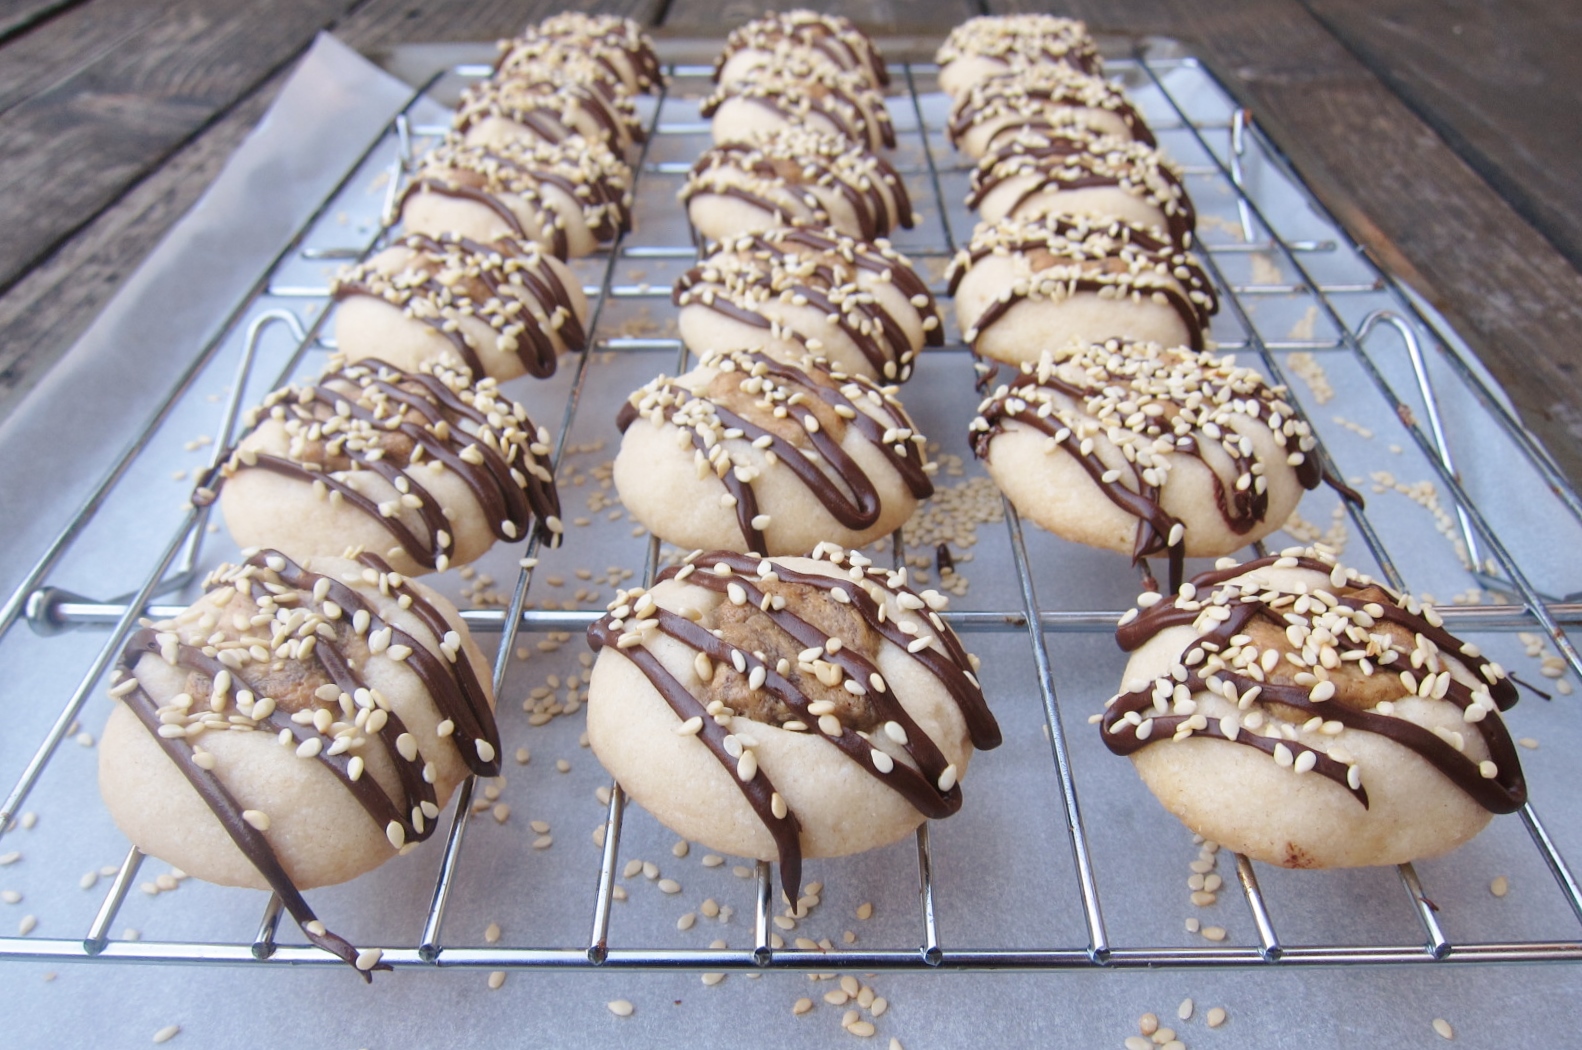


 But it wasn’t until this year that I decided to transform the ceremonial bread into a decadent treat. Something about its blank-canvas quality and its distinctive browned edges had finally lured me in. Together with a heap of toasted sesame seeds, my broken matzos would meld with sweet almond paste and honey, bits of citrus zest and a splash of vanilla. The result was a delicious and decadent treat, reminiscent of baklava with its light-weight crunch, honey, and citrus : a perfect new spring tradition.


